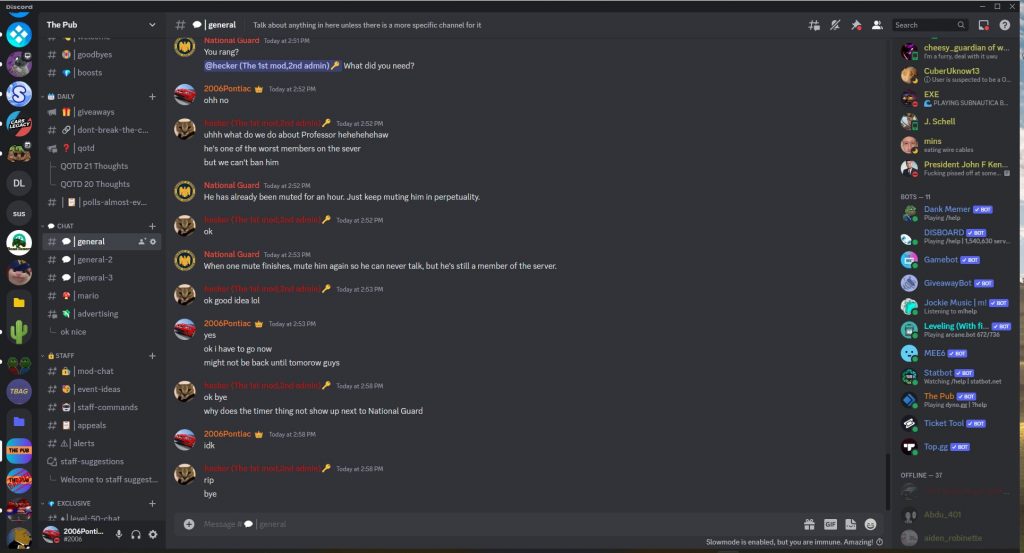
My server, The Pub.
Welcome back to TechStation! In this article, we’ll be discussing how to create your own Discord community server. This post will use my own server, The Pub, as a reference, but of course you can feel free to create your server in any way you want to suit your needs. This is gonna be a long one–so make sure you have something to eat!
This article is divided into three parts: setting up your server, designing your server, and advertising your server. This is so the process is easier to follow along, and so that you can skip to any one part you want without having to read the whole thing. There’ll be several screenshots along the way, of course, all taken from The Pub.
Setting Up your Server
OK, so the first thing you want to do is create your server. It doesn’t matter if you’re in the Discord app or a browser window, but you want to scroll down and hit the green plus button on the left side of your screen. What you’ll see is shown in Figure 1.
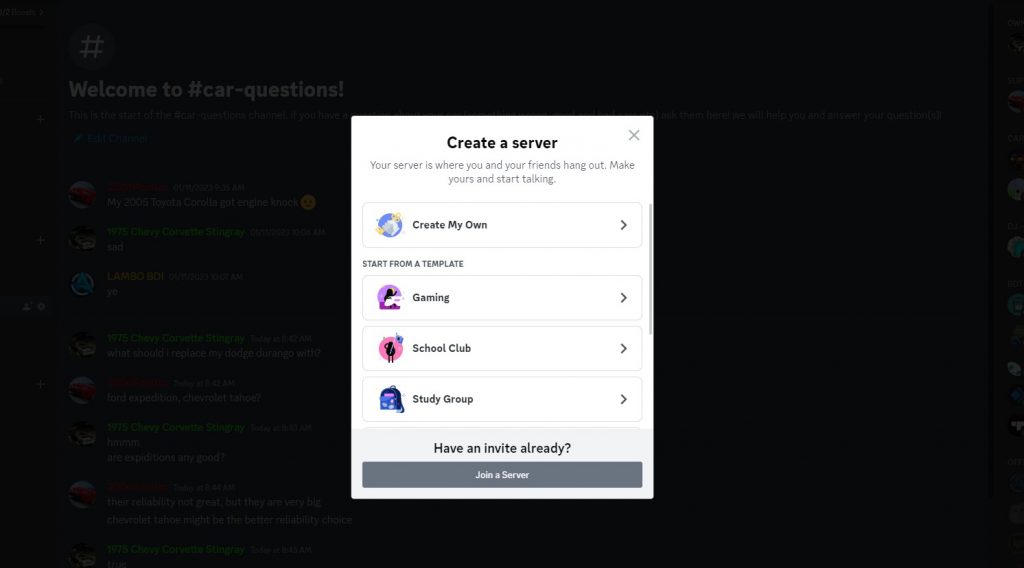
Just select Create My Own, since we’re creating a full-fledged community server and none of the templates fit the description. Then select “For a club or community”, and you’ll be taken to the screen that prompts you to name your server. Choose whatever name you’d like and set up a profile picture, and click Create. Then you have your shiny new server!
There will be some default channels that Discord puts there once you create your server. Chances are, you’re probably not gonna want any of these, but you never know. The point is, you’re designing a server for yourself, so this needs to be personalized to your needs.
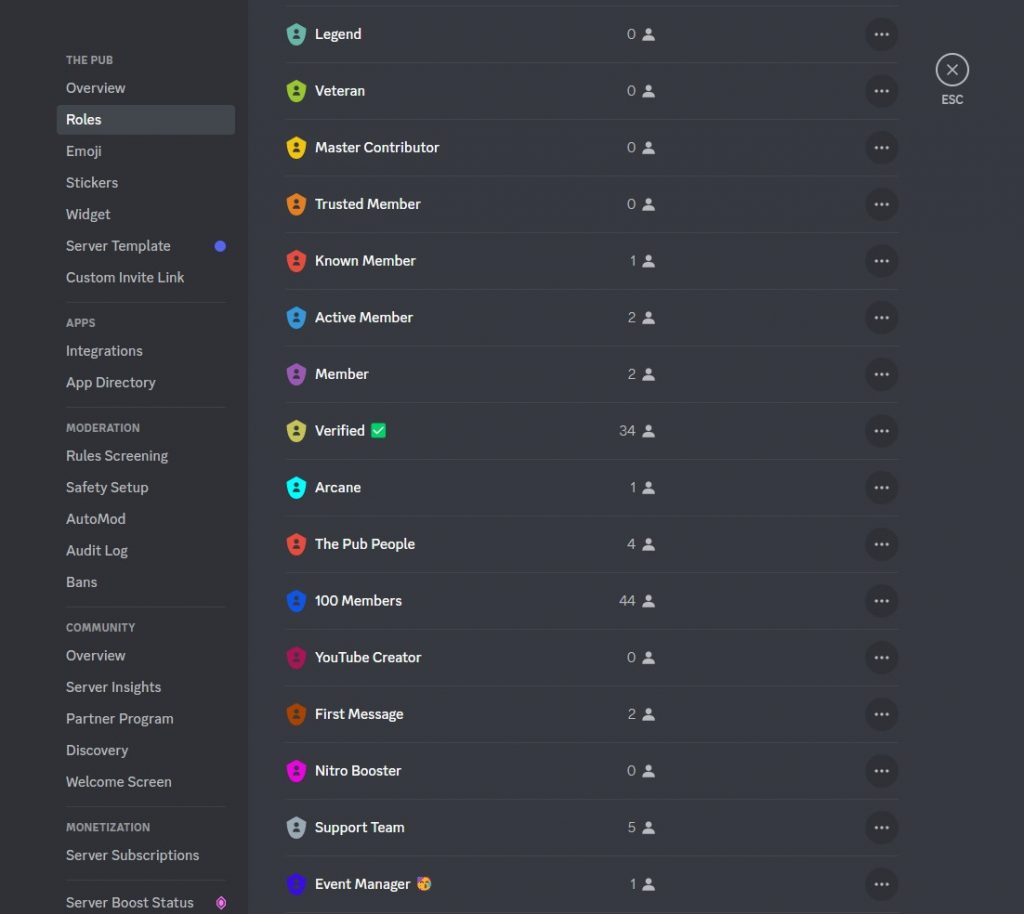
The first set-up task you want to do is create roles (see Figure 2 for the roles screen.) The roles of a server are like the jobs or positions, assigned to members with varying trustworthiness levels. For example, the newest members get the “Newbie” role, maybe, that has pretty basic permissions, and the oldest members get the “Moderator” role, which means they’re put in charge of moderating the chat. Here’s what I’ve set up on my servers (and what you should set up too, for the best intra-server dynamics):
- Owner, which applies to you, the creator of the server. No matter what permissions you turn off or turn on for your role, you will always have the maximum control over everything. Be sure to assign this role to yourself!
- Admin. This role is the highest non-owner role in your server. It applies to the members who manage the server, create channels, monitor webhooks, bots, integrations, and if applicable, the Channels & Roles feature. Assign pretty much all permissions for this one, except maybe Administrator if you don’t feel like giving that much power.
- Mod. This role are for the members who perform all the moderation duties in the server. They scour all the chats 24-7, deleting inappropriate messages, warning/muting/banning users that don’t follow the rules. They might also make some minor server management decisions, and have access to all private threads and channels. If you choose on having a ban appeals system in your server, this role would be able to approve/reject appeals. Give this role all permissions except for Manage Events and Administrator.
- Junior Mod. This role is kind of optional. I have it on my server for moderators that just got promoted, in case they turn out to be bad apples. These mods moderate some of the server channels but not all of them, and they don’t do any server management duties. They shouldn’t have Server Insights, Manage Webhooks, or Manage Roles. If you want to be extra safe, they shouldn’t be able to ban people or manage events.
- Staff. This is an all-encompassing role that should apply to all staff members in your server (Junior Mod, Mod, Admin, Owner.) I also recommend assigning this role to all of your moderation bots. Permissions on this role should be identical to permissions on Mod.
- Event Manager/Team. Make sure you create this role so that you have people who create and manage events on your server. Without community mode enabled, you won’t have access to this Discord feature. But don’t worry, we’ll fix this later on. Be sure to create this role and assign it to someone you trust to manage events.
- Level roles. I’m not going to list all of my level roles here; otherwise you’d be reading this for an hour, but here’s how it goes: if you decide to set up XP leveling on your server via a bot, then you’ll need lots and lots of roles for average members. You can get bots like Arcane that will assign levels to users who chat enough and gain enough XP. Currently on The Pub, I have 7 level roles (Member, Active Member, Known Member, Trusted Member, Master Contributor, Veteran, and Legend.) Of course you can call these roles whatever you want. Just remember to assign specific XP values to each level role when you’re setting up your leveling bot. I highly recommend Arcane because it has lots of features and it’s very easy to use. Remember to have a clearly-outlined list of level roles in a channel on your server.
To set up roles, right click your server, go into Server Settings, and then click on Roles, as shown below.
When you’ve finished creating the roles, you’ll want to work on the channels. You can do this in any way you want, but here’s what I recommend: first, create a category called Information by right-clicking on any blank space in the categories panel. Create a #rules channel, a #roles channel, an #announcements channel, and a verification channel for new members. You should also have an #faq channel and a #user-welcome channel. When you set up Community Mode later, you’ll be able to turn Announcements into an announcements channel with a megaphone icon, and rules into a rules channel with a book icon.
Before we get any further: do this. Get the Dyno bot at dyno.gg. It’s the bot you most need for your server, and you can’t do much moderation without it. Once you have it installed, you’ll want to create embeds to post in the #rules, #roles, and #faq channels. This means that you’ll tell Dyno what to put in the channels as messages, rather than you having to send the messages yourself. To do this, log onto the Dyno dashboard, hit Modules, and search for “Message Embedder.” Make sure it’s turned on, and you can start filling out the forms to create embeds to post in your information channels.
You’ll also want to set up a user welcomer for the #user-welcome channel by searching for “Welcome” in the Dyno modules list. There are many more options and modules on the Dyno dashboard that will benefit you in the future, so take a note of this. Anyways, you’ll want to next create a category called Chat. Create as many chats as you want (I recommend two or three) and name them “general”, “general-2”, and so on. As a note: to put a finishing touch on your channels, you can create channel emojis in your channel names to make your server look nicer, as shown in Figure 3:
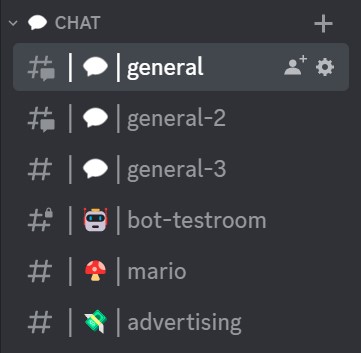
Inside the chat category, I recommend adding an #advertising channel so users can advertise their own servers in yours. Make sure to clearly state that users should only advertise in #advertising! (I had a particularly annoying member join and start posting advertisements in every single chat channel that he could send messages in. He ended up muted for two days.) Once you’ve finished the Chat category, move onto the Bot Commands category. This is where users will be able to use commands from bots on the server. (We’ll talk about this in the Designing Your Server section.) Create a #bot-commands channel, a #music-commands channel if you decide to add a bot that can play music in voice channels, and if you plan on adding the Dank Memer bot, add a separate channel for Dank Memer commands.
You’ll want to create a separate Staff category for all the staff-member-only channels. Make sure that the channels in this category are set to private, meaning that @everyone cannot view it. You’ll want an #alerts channel in here, for all the Discord system messages. You’ll also want a chat for mods only.
Then there are the voice channels. I usually set up voice channels for all different party sizes, which you can configure by clicking the gear icon on a voice channel and setting the party limit to a certain number. Once you enable Community Mode on your server, you can create a Stage channel for server events. Next, you’ll need an Art & Media category, where you can have a #memes channel, a #media channel, and a #digital-art channel. Last but not least, there’s the support category. This is where users will be able to submit support questions for the Support Team to review. I highly recommend getting the Ticket Tool bot, which allows users to open support tickets that ping the Support Team so users don’t have to go messaging around the server. Don’t forget to assign members to a separate Support Team role so they can be pinged!
And that’s about it for all the channels of your server. Of course, you can always add more if you like over time. Here’s an optional category that some may like to include: a Daily category. This is where you have your Question Of the Day channel, a dont-break-the-chain channel, and perhaps even a giveaways channel if you plan on hosting giveaways on your server. You can also add a polls channel. But this is all optional, of course.
Recommended Bots List
Here are some recommended bots you should get for your server:
- GiveawayBot. This bot allows you to host giveaways with ease on your server. You can get it at giveawaybot.party. However, it does not have a dashboard so you cannot manage settings on the bot outside of the server.
- Disboard. I highly recommend registering your server on Disboard if you want to gain more members. We’ll talk about this more later in the advertising section. It really helped my server grow. However, you’ll need the Disboard bot for this to work.
- Jockie Music. This is an amazing music bot with a dashboard. It allows you to play almost every single song ever recorded with just a simple command (m!play.) You can get this free bot at jockiemusic.com.
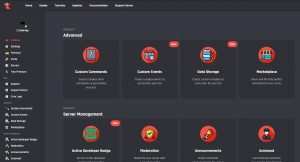
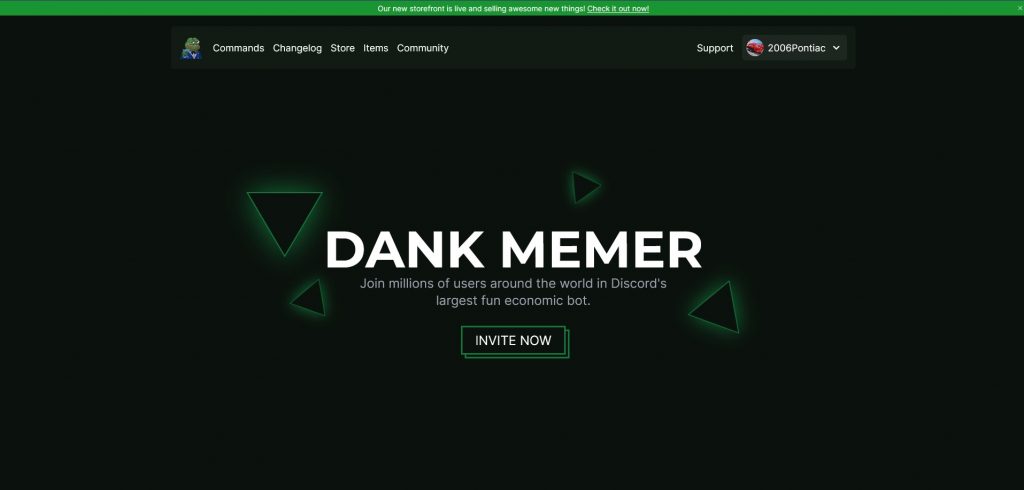
- Dank Memer. This fun economic bot allows your users to engage in fun activities with pets, economic life, and Dank Memer coins. (Don’t ask me what I mean by that.) You can get Dank Memer at dankmemer.lol (lol). See Figure 4 below for the Dank memer dashboard.
- Arcane. This amazing leveling bot features a full-fledged dashboard with automatic leveling rewards included. However, without the premium version, you can’t enable Voice XP. But it features a cool card design for users to use the /level command to find their level. Add Arcane at arcane.bot.
Designing Your Server
Here are five useful design tips that you can employ to really make your server more appealing:
- Question of the Day and Emoji Chains. These channels allow you to ask questions of your members whenever you feel like it, whether to gain opinion about popular issues or just for fun. Emoji chains are purely for entertainment purposes, and can make for a chain of color in your server.
- Forums about specific topics. If your server is focused on a set of topics in particular, then you might want to consider adding forums or threads focused on those specific topics. For example, I have a cartalk forum on The Pub and a carnews forum so people can post the latest car news and talk about cars in an organized fashion.
- Support ticket system. With a bot like Ticket Tool (freemium), you can set up an automated ticketing system on your server, where members can just click a button or add a reaction to open a support ticket. Make sure you set things up so that you have a Support Team role that is pinged automatically whenever a ticket is opened, so a variety of staff members can attend and resolve potential support tickets if you’re not around.
- Statistic channels. With a bot like MEE6, which I use (but still think is kind of sus), you can set up statistic channels that allow you to display the current membercount and number of online members in the form of voice channels, for example. I have it set up on The Pub so that it always displays these two values at the top of the channel list, though all of the non-staff members can’t join these voice channels.
- Exclusive chats. To reward users who have reached certain XP levels, create exclusive chats accessible only to members who have reached a certain XP level (and staff members, of course). For example, you can have a level-50-chat for all users who have reached level 50. Just to be sure users don’t get overwhelmed with all the exclusive chats, only allow members access to the exclusive chat at their level, not all the ones below it. If you don’t do this, things will get really confusing.
Advertising your Server
Cool, you’ve created a very healthy community for swaths of members to be in! Unfortunately, having such a good-looking server isn’t much use if there aren’t any members in it. If you’re looking to really grow your server, I would suggest adding your server to these popular advertising spaces:
- Disboard. Disboard is an all-free, all-powerful advertising space that allows you to “bump” or kick your server to the top of the advertising list every few hours. I’ve found that it really helps boost the number of members on my server. I once even got 4 new members in one day! (Since I added the server to Disboard about a month and a half ago, the server has gone from having about 30 members to 61.)
- Top.gg. This is a very similar service to Disboard, except you can provide more involved descriptions and details about your server. Top.gg allows you to vote for your server every 12 hours, not quite as often but Disboard, but still fairly regular. Top.gg even gives visitors a preview of the top bots on your server, and it allows you to post announcements about your server!
- Self-promotion servers. I’m in a number of self-promotion servers that allow you to advertise the hell out of your server to hopefully gain more members. Make sure to join self-promotion servers with a lot of members, though, otherwise this advertising venue isn’t going to get you anywhere! Here are the ones I’m in now: Cactus Advertising and Self Promotion Central.
Here’s a note, however: Disboard and Top.gg both require you to add the Disboard and Top.gg bots to your server. If you don’t like this, unfortunately, then you won’t be able to use these advertising spaces.
And that’s pretty much it for this very long-winded post! I wish you success with your new Discord server!

