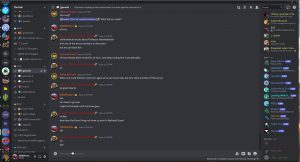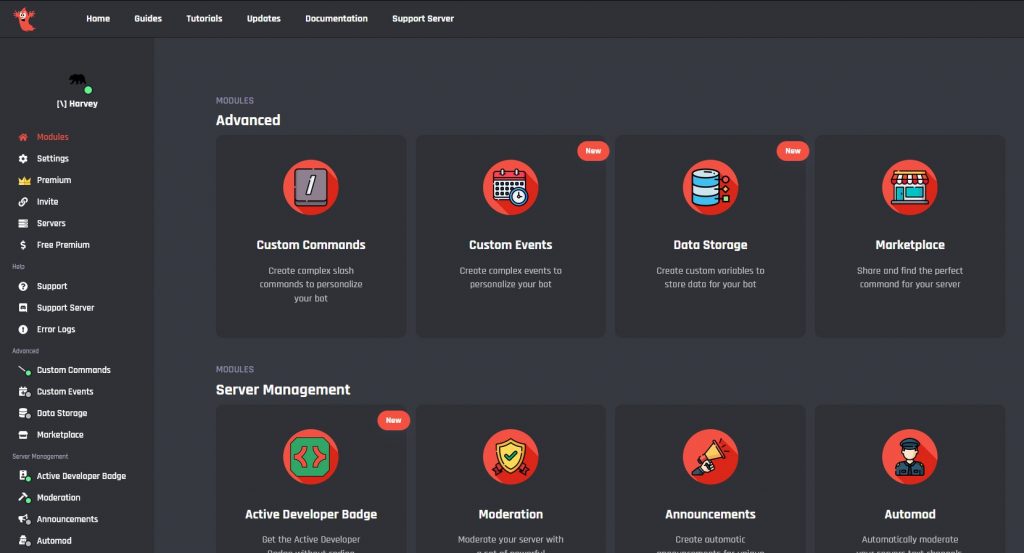
The BotGhost dashboard for my bot Harvey
For a long time, I’d been wanting to create an application for my Discord server with custom commands that could perform major moderation duties. Only recently did I figure out the quickest and most efficient way to do so.
Normally, creating a Discord app would require several hours of coding, lots of hawing over commands, and most of the time it wouldn’t even work. I have to say, Discord has made it extremely complicated to develop applications nowadays. Using a freemium service called BotGhost, however, I was able to streamline the process. All you have to do is create your application by clicking through a series of forms in the Discord Developer Portal, then head over to BotGhost, connect your Discord account and application, and start making custom commands with BotGhost’s easy-to-use flowchart design system.
Here’s how to do it:
- Enable Developer Mode in your Discord account by going to Advanced in your user settings.
- Head to the Discord Developer Portal. Log in if necessary, and head to the Applications tab. Select “New Application”. Choose a name, description, and app icon for your bot, and add any necessary tags. Next, there’s OAuth2. Set “Default Authorization Link” to None, and you don’t need to fill anything out in the URL Generator section. In “Bot”, choose whether your bot is public or not. Leave “Requires OAuth2 Code Grant” unchecked unless your bot is public. Leave all the next sliders in the on position. Your bot isn’t a game, obviously, so you won’t need to do anything in Rich Presence. Finally, you can add application testers to help verify your bot’s functionality.
- In order to connect your application to BotGhost, you’ll need an app token. Back on the Bot tab, you should’ve seen a “Token” section with a long string of characters under it. DO NOT LOSE THIS TOKEN OR GIVE IT OUT ANYWHERE. This is your unique application token that will be used to authenticate your app everywhere. Make sure you save this token in your passwords database.
- Next, add that bot to your server via the Discord Developer Portal. This is vital to making the BotGhost portion work.
- On BotGhost, hit “Create A Bot”. You’ll be asked for your bot token. Drop that in, and then select Create Bot. And there you go–you’re greeted with the BotGhost dashboard.
- To create custom commands (and I assure you, you’ll want to), select Custom Commands and then select New Custom Command. There, you can combine actions, triggers, and conditions to create commands. There’s also a premium version of BotGhost that allows you access to special features. That’s pretty much all there is to it.
The particular bot I created was a private moderation bot for my server, The Pub, called Harvey. Unfortunately, if you don’t have premium BotGhost, everyone will know that you used BotGhost to create the bot, because in its status you will see “Listening to Made With BotGhost.com”. However, if you’re not developing a public bot, that shouldn’t be a big deal.
And that’s how I got a Discord bot developed in just 30 minutes. Don’t forget to join my Discord server at https://discord.gg/j2Em7mrQFx!

